Things You Will Need
If you will be replacing the interior window sill by yourself, you need to know which tools you will use to get the job done. Chances are that you have most of them already but a rule of thumb is to equip yourself beforehand so that you are not stuck in the process.
Make sure you have: a putty knife, a utility knife, pry bar, chisel, a claw hammer or a mallet, a reciprocating saw, a multi-tool, a pencil or crayon, measuring tape, and a strong adhesive. You can cut the new sill with a table saw or have it done at your closest warehouse.
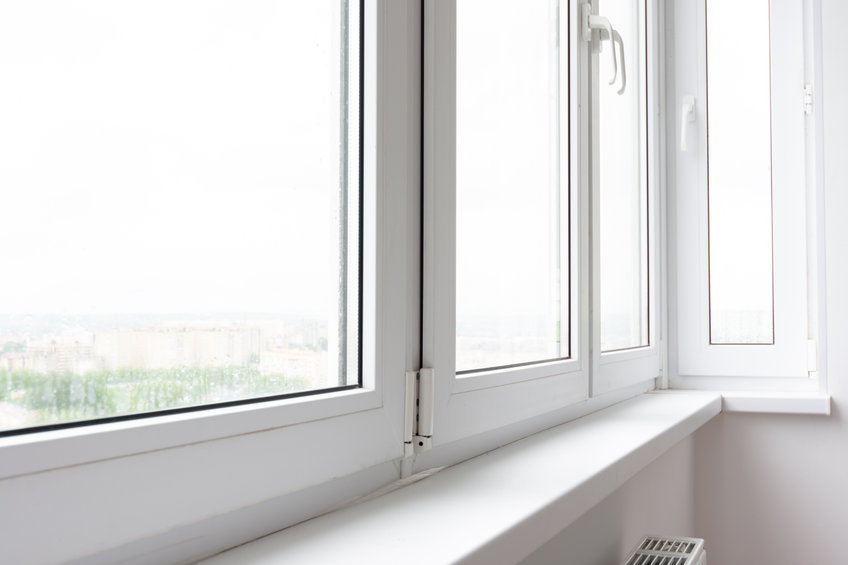
Step 1: Remove the Old Window Sill
Insert Utility Knife between Sill and Trim
First, you need to open your window so that it can give you enough room to remove the old window sill. Insert the tip of your utility knife vertically between the sill and the trim. There will be a profiled wooden trim of a quarter by a half-inch around the perimeter of your window sill depending on how it was installed. With the help of a utility knife, cut any glue, paint, or caulk that could be holding the trim to the sill.
Pry the Trim Away From the Sill
Take a putty knife and insert it behind the trim underneath, at the back, in front, or wherever the trim is installed. Gently pry the old trim away from the sill in pieces. Try using a chisel if the trim is a bit stubborn and will not come off right away. Use diagonal pliers to pull the nails out of the trim and arrange them to make it easier when putting them back.
Loosen the Sill As Much As Possible
To loosen the sill well enough, insert a flat pry bar underneath the sill and pry upward. You can also place its tip behind the sill on top while prying it towards your body. Try using a screwdriver if the pry bar does not fit. Continue loosening the sill by prying from both sides until the nails start to pull free.
Use a Rubber Mallet
With the help of a rubber mallet, pound the sill from all directions to loosen the nails. Rock the sill upward and downward with your fingers to pull it out of the window sash and framing. Scrape any debris, old glue, or caulk from framing where the sill was removed. Use diagonal pliers to extract any nails that could have remained.
Step 2: Install the New Sill
Get the Right Size
It is important to get the right measurements for your new window sill so that it doesn’t look out of place. One of the ways to do this is by using the sill you just extracted from the window as a template. This allows you to verify whether the thickness of the new sill will be accurate or proportionate to the old one. Use a table saw to cut the new sill to the right measurement but do not cut out any notching yet.
Tap it Into Place
Place the newly cut sill on the sash where you removed the old one. Use a rubber mallet to tap it back to the furthest point it can go. Use a tape measure and a pencil to trace or draw any notching you need and cut them with a jigsaw. Put the sill back in place and trim the notches until it fits tightly on the sash or framing.
Finishing Touches
Use 100-grit sandpaper and a hand block to smooth the sill and around the corners. You can choose to either paint the sill or finish it to match the existing woodwork. Drill holes through the sill and drive 2-inch nails into the holes using a hammer. Use 1-inch finish nails to nail the trim pieces in the order they came off. Use a color-matched putty crayon to putty all the holes.
It is important to be very careful when prying on a sill so that you do not break anything that may be in the way. Make sure to remove every piece carefully that is in the way of the sill and the trim and always have your safety glasses on when working with wood. To be on the safe side, you can always seek help from a professional when replacing an interior window sill.