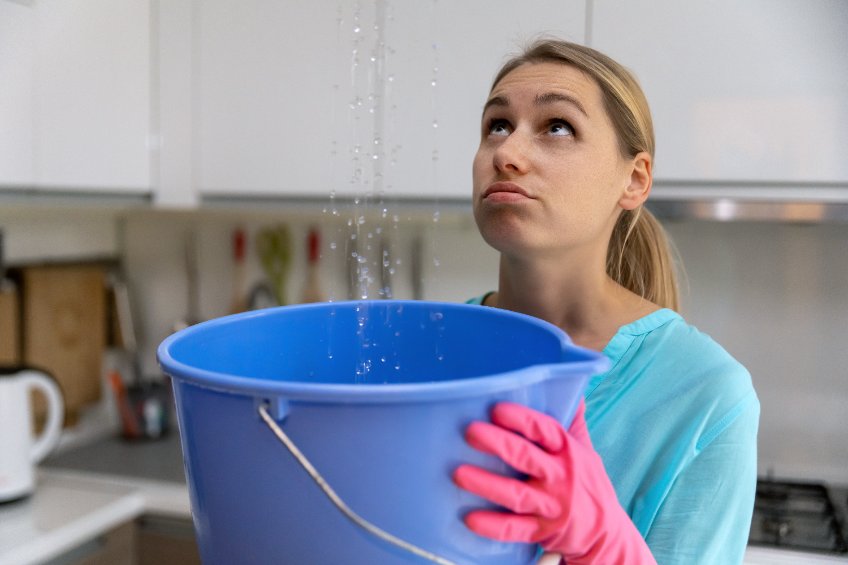
Step One – Identify Signs of Potential Roof Leaks The first thing that will guide you to know whether they are any leaks on your roof is sign of dripping water. Therefore, if you happen to notice that your ceiling is dripping water from the roof, this can be a good sign that your roof has some leaks. You can notice this by hearing dripping water when it is raining or water droplets on the ceiling.
Step Two – Look For Any Issues in the Attic The next thing you should consider doing to identify roof leaks is to get into the attic and try to identify any issues with your roof. You need to be careful with this step because you may end damaging the ceiling. Signs of a leaking roof that you need to watch out for include mold marks and water stains. It is good to note that exposed nails could cause water stains and not a leaky roof necessarily. This is a problem that you can easily fix by clipping the nail’s head using pliers.
Step Three – Pour Water on the Roof If the rainy season is coming and you want to ensure your roof is ready for that, consider making it rain by pouring water on the roof. This task may need two individuals – one to pour the water and the other one to identify the roof leaks in the house. To go about this step, simply grab the garden hose and use it to soak water on the roof. Your helper should let you know once they notice water dripping from the roof. You should then mark out the problem area so you have an easy time fixing it up.
Step Four – Fix the Roof Leaks Yourself Once you are done checking for the leaks, it is now time to fix them. You can do this yourself or call in a professional to help. However, for this part of the article, we are going to talk about how you can repair a leaking roof by yourself. You may start the repair process by replacing damaged roof shingles. This will be required especially if the leak is due to damaged shingles. You can do the replacement by removing the nails holding the shingle in place, and then nailing the new shingle over the exposed area. You can also fix leaks around vents, chimneys, and window edges by replacing the caulk around the flashing. It is also good to note that damaged vent boots can let water seep into the house. You should therefore consider fixing the plumbing vent boots if you notice any issues.
Step Five – Let Professionals Locate and Fix Roof Leaks One thing that you may have realized is that locating roof leaks can be an overwhelming task, especially if you are not experienced in this job. It can also be dangerous climbing to the roof to identify and fix the leaks. To avoid any issues, you may want to hire the services of a professional roof repair company. They have the needed expertise to do an incredible job for you safely. Roof leaks are not only nuisance to deal with but can also cause a lot of damage to your house. You should therefore consider scheduling professional roof inspection services if you happen to notice any potential roof leaks. Doing this will help you save your roof before things turn out really bad.