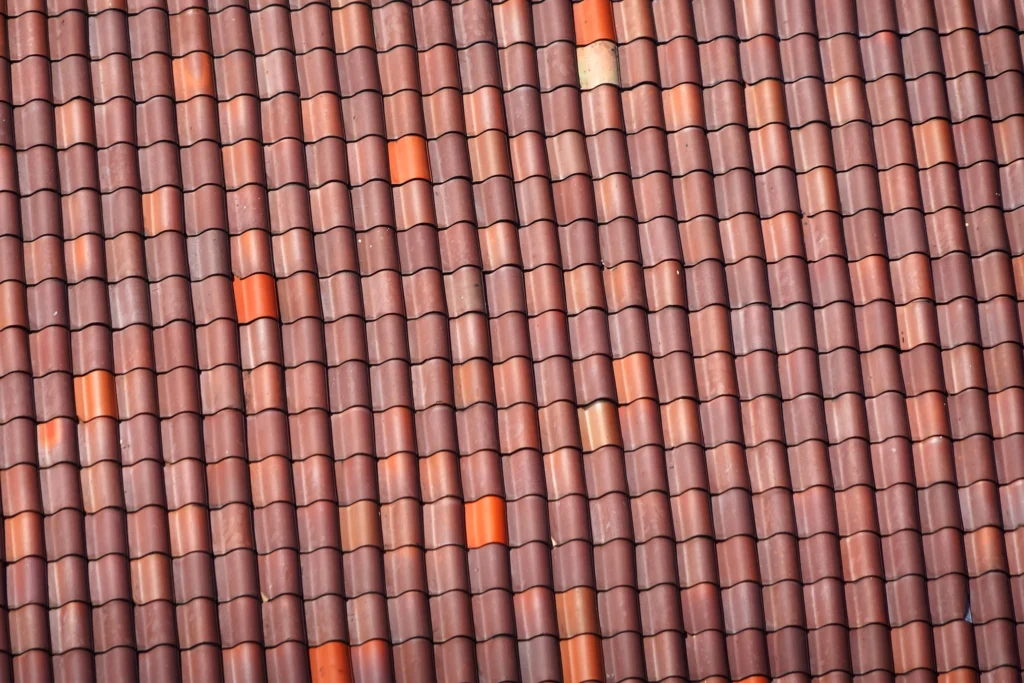
Despite the long warranty advertised by shingle manufacturers, the roof is still vulnerable to wear and tear. Elements such as water, strong UV rays, dust and dirt all contribute to the degradation of roof shingles. We have completely no control over these things.
When your roof gives signs of aging, it does not necessarily mean that you have to replace it altogether. In this case, painting your roof can go a long way in giving your shingles an updated look and feel. While it may sound like a brainer, painting your shingles is an easy task if well planned for. This article embarks on a systematic process of painting a shingle roof.
Inspect the Roof for Damages
Having noticed signs of aging and discoloration on your shingles, look for an extension ladder and use it to climb up. Do a thorough inspection of leaks, dislodged and broken shingles.

Did you know that you can paint your roof shingles?
At this point, it is important to invite a roofing professional for the inspection. A professional can notice damages and issues you would have otherwise missed and recommend the necessary action going forward.
Plan Ahead
Professionals can attest to the fact that success to any good project lies in adequate planning. For a roof- painting job, planning means studying the weather to know the right season to schedule the job. The right weather for the job is when there is enough sunlight and no winds at all. Having done that, then write a checklist for everything you need before setting out to a hardware. For this project, you will need an extension ladder, gloves, a respirator, power sprayer, paintbrush, anti-slip shoes, gloves, safety harness, cleaning solution, drop cloth, primer and paints.
Repair the Damages
This step involves fixing the damages and mishaps you noticed during the inspection. For a thorough and timely workmanship, it is advisable to hire a professional roofer to do the repairs. However, for minor works like re-overlapping the shingles, you can go ahead and DIY. It is at this point that a professional should help you hoist and fasten the safety harness so that you do not fall off.
Clean Debris
For the new paint to blend well with the material on the shingles, debris and repair dirt must be thoroughly cleaned. To do this, use a power washer with a long enough hose to reach the ridges. Then point the washer wand 2 feet away from shingles and spray the debris from the ridge going downward. You should use a homemade cleaning solution instead of commercial cleaners. The solution kills moss buildup while still maintaining the integrity of your shingles. When done with this step, leave the roof to dry for a day.
Apply a Primer
Before embarking on the primer application, use a drop cloth to cover the plants and flowers below the roof to protect them from the paint. Using the adjustable ladder to access the roof, use a paint sprayer to apply primer on the shingles. The primer helps the paint blend the material used to make the shingles, for a more updated look and feel and longevity. When done, leave the primer to dry for 1 hour before applying the paint.
Spray Your Paint
Wash the paint spray to prevent mixing up the primer and paint since you do not have to do different sprayers for both coats. Then use the same technique to access the roof. Start spraying the shingles from the ridges going down. When done with a section, adjust your ladder and pick another section to your right. Ensure to overlap the sections for a uniform coating. Repeat the process until the whole roof is covered with the new paint. For a long lasting appeal, use an acrylic paint that is water based.
Apply a Sealant
If you plan to have a second coat of the paint, then a sealant is not necessary thing to have. However, most professionals insist on applying a sealant. It will add more life to your updated roof and protect it from elements for years. To apply this, let the coat sit for a day or 2 then follow the same steps used with paint and primer.
As easy as it may seem and sound, the process of painting roof shingles might still be hard to some people. This is where a professional painter comes in, to shoulder all your worries and stress. You can trust them for a timely and more appealing workmanship because they have the needed skills and expertise to do a perfect job.
